
Creating your own wedding invitation suite can be a deeply rewarding and cost-effective way to add a personal touch to your big day. It allows you to infuse your personality into the invites, set the tone for your wedding, and impress your guests with something truly unique. Here’s a comprehensive guide to help you DIY your own wedding invitation suite, from design inspiration to the final touches.
1. Gather Inspiration
Before you start creating, gather inspiration from various sources. Consider:
- Pinterest and Instagram: Search for wedding invitation designs to see what styles resonate with you.
- Wedding blogs and magazines: Look for trends and unique ideas.
- Stationery shops and websites: Explore different paper types, fonts, and embellishments.

2. Choose Your Style and Theme
Your wedding invitation should reflect the overall style and theme of your wedding. Whether it’s rustic, modern, vintage, or minimalist, your invitations set the tone. Think about:
- Color scheme: Use your wedding colors to guide your design.
- Typography: Choose fonts that match your theme (e.g., elegant script for a formal wedding or bold sans-serif for a modern affair).
- Graphics and embellishments: Incorporate elements like florals, geometric shapes, or custom illustrations.
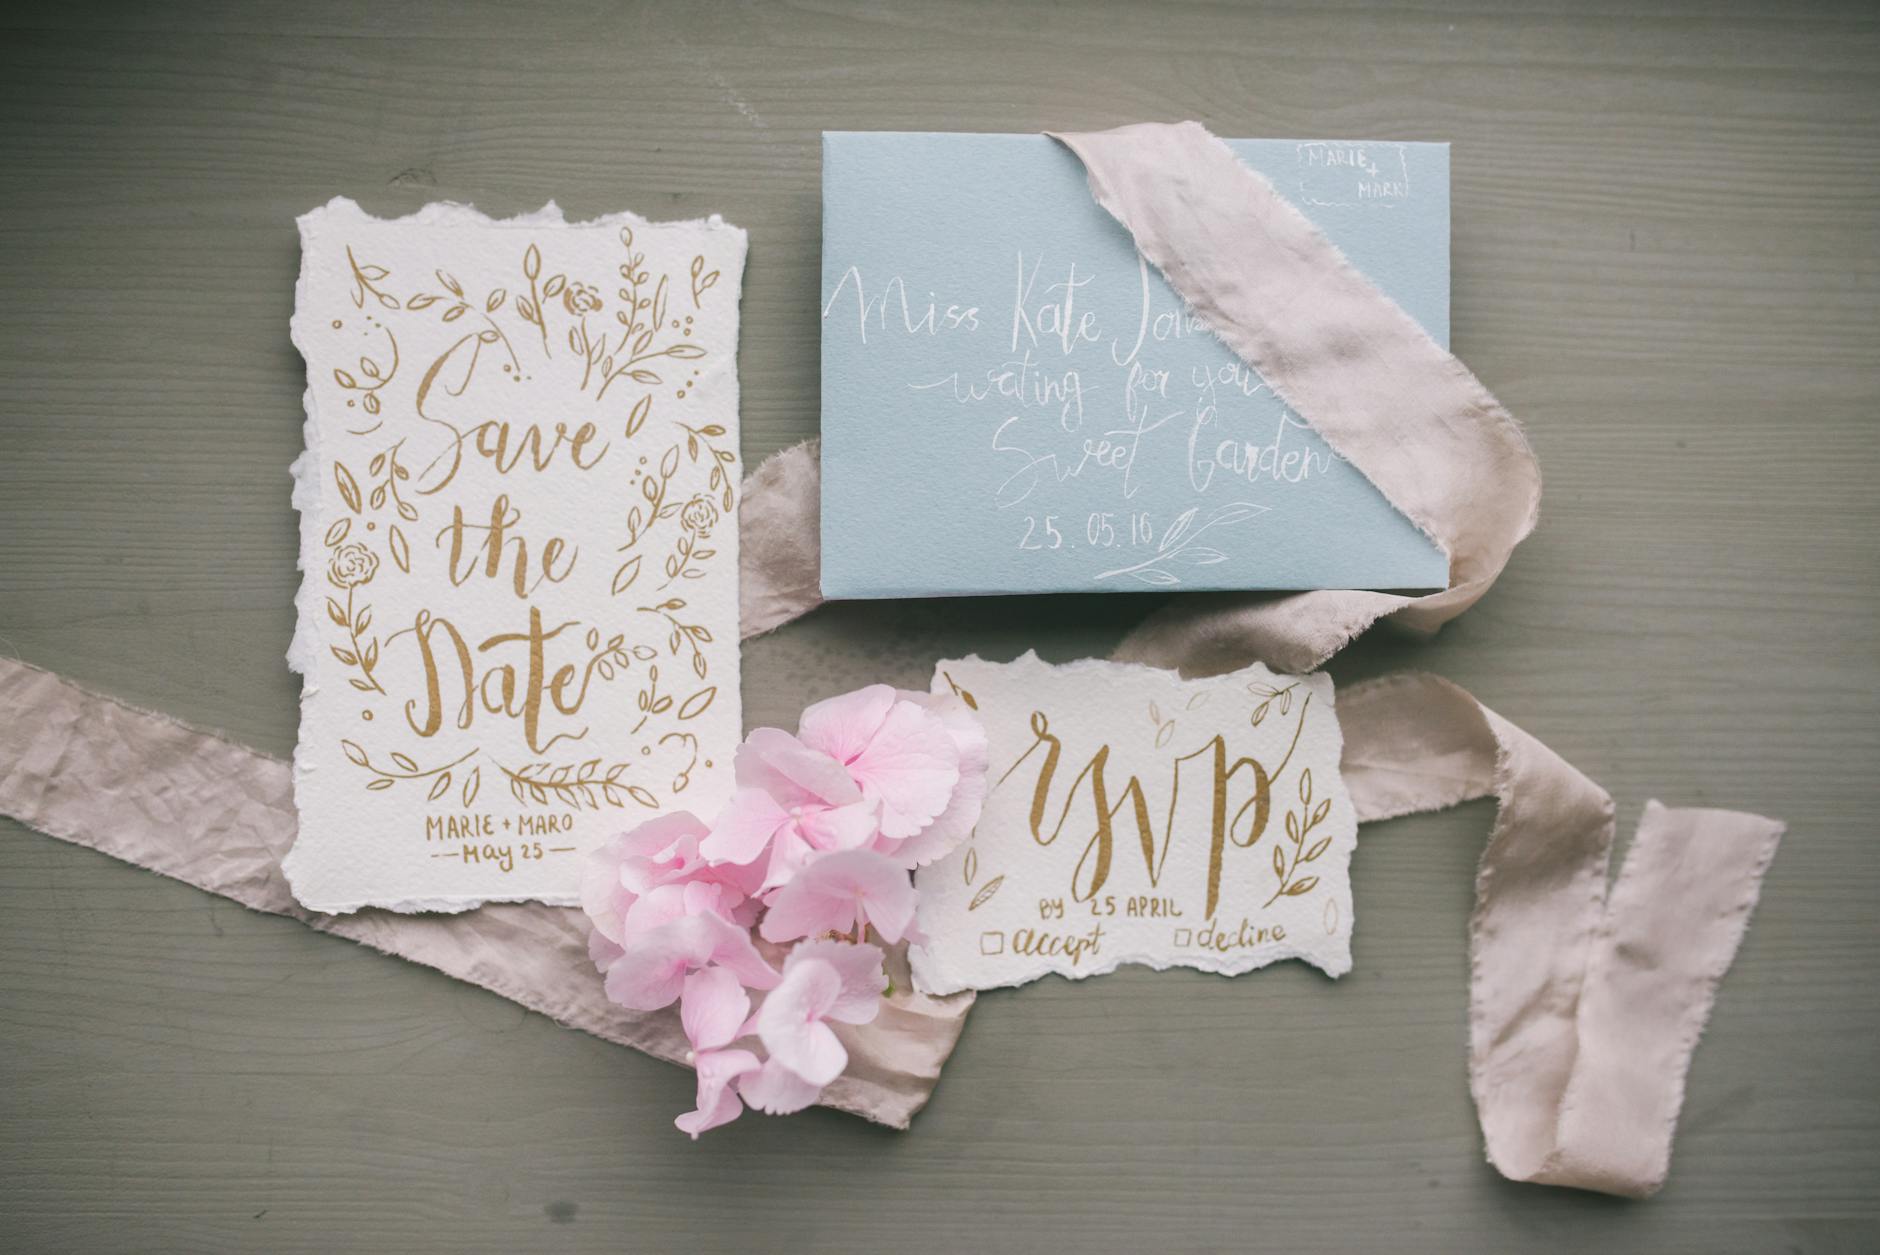
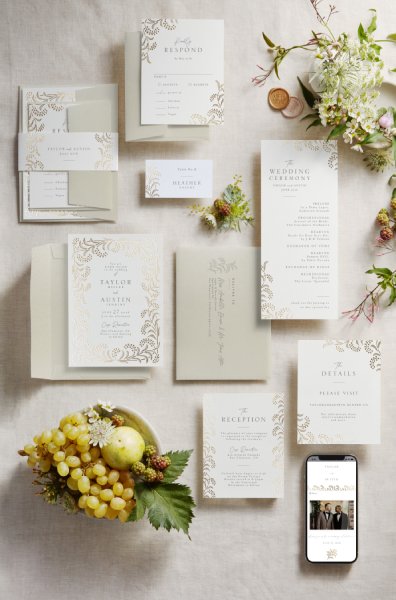
3. Decide on the Elements
A complete wedding invitation suite typically includes several components:
- Invitation: The main card with all the essential details.
- RSVP card: For guests to confirm their attendance.
- Details card: Information about accommodations, directions, and other pertinent details.
- Envelope: Don’t forget an envelope to mail everything in.
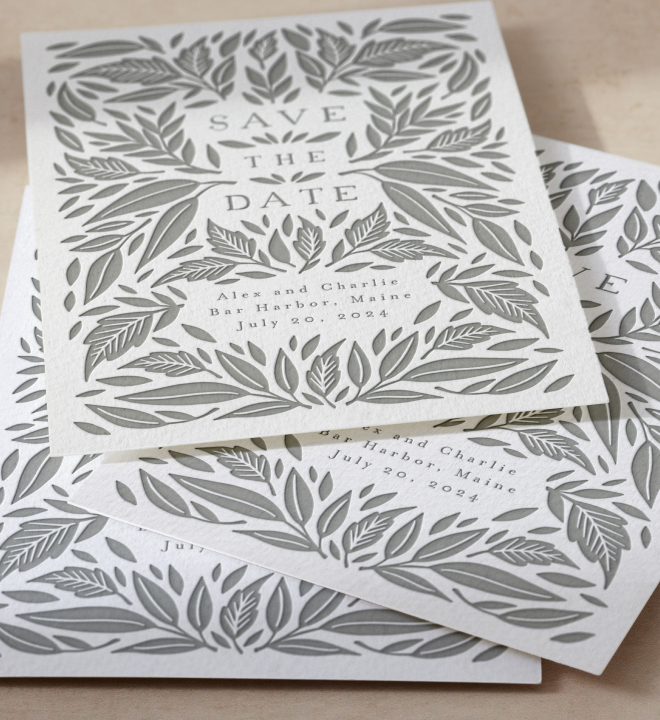
- Additional items: Optional elements like save-the-dates, menu cards, or thank-you notes.

4. Select Your Materials
Choosing the right materials is crucial for a polished look. Consider:
- Paper type: Cardstock is a popular choice for its sturdiness. Look for recycled or specialty papers to match your theme.
- Ink and printing method: You can print at home using a high-quality printer, or use a local print shop. Consider eco-friendly inks if sustainability is important to you.
- Embellishments: Ribbons, wax seals, belly bands, and vellum overlays can add a touch of elegance.
5. Design Your Invitations
Now for the fun part—designing your invitations! You don’t need to be a graphic designer to create something beautiful. Here are some tools and tips:
- Design software: Programs like Adobe Illustrator, Photoshop, or InDesign are great for detailed designs. If you’re not familiar with these, simpler tools like Canva or Microsoft Word can work wonders.
- Templates: Start with a template to make the process easier. Websites like Canva offer a wide range of wedding invitation templates you can customize.
- DIY elements: Add hand-drawn illustrations, calligraphy, or watercolors for a personal touch.

6. Write Your Text
Crafting the perfect wording for your invitations is essential. Ensure it matches the formality of your wedding:
- Traditional: “Together with their families, [Bride’s Name] and [Groom’s Name] request the honor of your presence at their wedding.”
- Casual: “[Bride’s Name] and [Groom’s Name] invite you to celebrate their wedding.” Include all necessary information: date, time, venue, RSVP instructions, dress code, and any additional details.
7. Print and Assemble
Once your design is complete, it’s time to print and assemble:
- Test prints: Do a few test prints to check for color accuracy and layout.
- Print in batches: Whether you’re printing at home or using a print shop, ensure you have enough supplies and print in manageable batches.
- Cut and trim: Use a paper cutter or hire a professional to ensure clean, even edges.
- Assemble: Place each element in the correct order. Add any embellishments like ribbons, seals, or bands.

8. Address and Send
Addressing your invitations correctly ensures they arrive safely and look polished:
- Handwritten addresses: If you have neat handwriting, consider addressing envelopes yourself for a personal touch.
- Calligraphy services: Hire a calligrapher for a professional, elegant look.
- Printed addresses: Use a printer or labels for a consistent, clean appearance.
**Don’t forget to weigh your invitations at the post office to ensure you have the correct postage, especially if they include multiple pieces or embellishments.
9. Follow Up
Once your invitations are sent, keep track of RSVPs:
- Online RSVP system: Use a wedding website or app to collect RSVPs electronically.
- RSVP card tracking: Keep a spreadsheet or list to track mailed responses.
10. Enjoy the Process
Creating your own DIY wedding invitation suite can be a labor of love, so enjoy the creative process. It’s a wonderful opportunity to add a personal touch to your wedding and create something truly memorable for your guests.
Creating your own wedding invitation suite can be a fulfilling and cost-effective way to make your wedding even more special. By following these steps and letting your creativity shine, you’ll craft beautiful, personalized invitations that perfectly set the tone for your big day.
Save this post for later!


Leave a Reply